

Create a free online store on sellix | A detailed explanation
Welcome to our comprehensive guide to creating an online store for free. In today’s digital age, having an online presence for your business isn’t just an advantage; it’s a necessity. The good news is that you don’t need a huge budget or technical know-how to get started. With our “How to Create an Ecommerce Store with Sellix Guide,” we’ll walk you step-by-step through how to build your store from scratch and customize it to suit you.
What is sellix?
Sellix is a website for designing and managing e-commerce stores simply without the need for website-building experience. It provides a good environment for e-commerce in general. One of the amazing features of Sellix is the seamless integration of digital product sales, including software, game keys, and e-books, along with the typical physical goods.
Steps to create an online store
Create account
-
Go to the official Sellix website and click on get started from the top box.
-
Enter your routine information, such as name, store name, and email.
-
Check your email to verify the account information.
Create an online store
After verifying your account, you will be asked to enter some information about the store. Click Skip at the bottom to go to the main interface of the store.
Setting up the online store
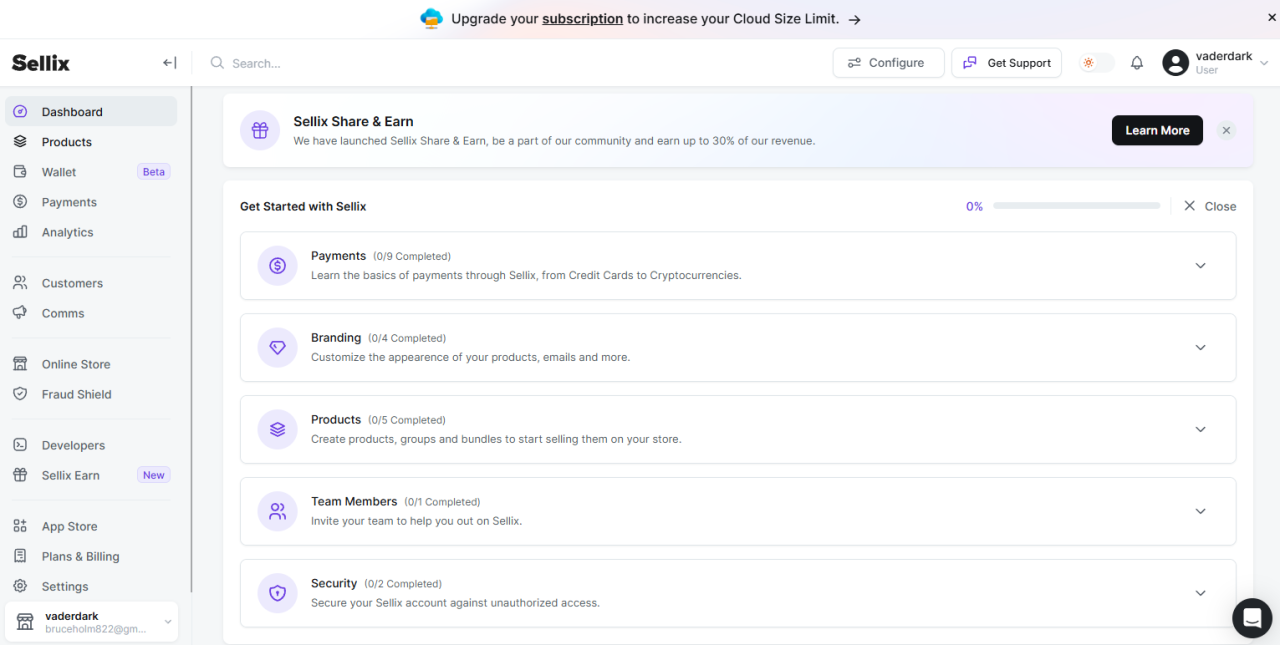
As you can see on the store homepage, we had to customize and modify these five sections. (Payments, Brand, Products, Staff, Security Information)
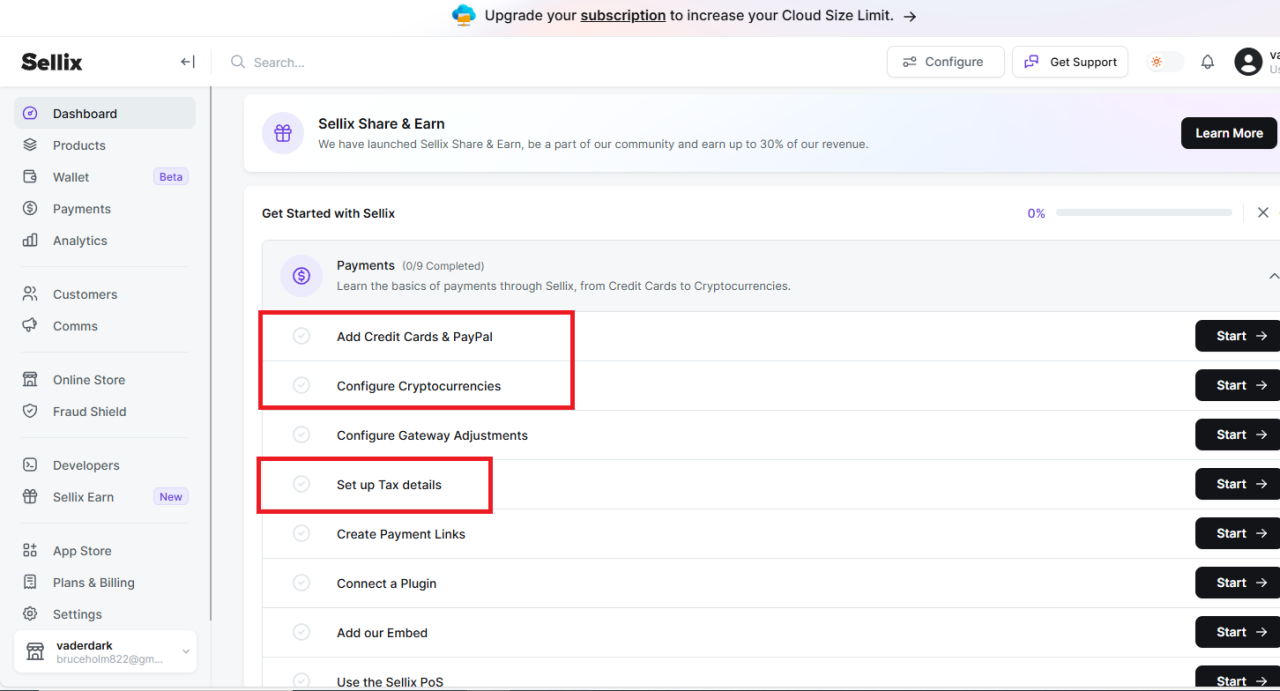
Payment information
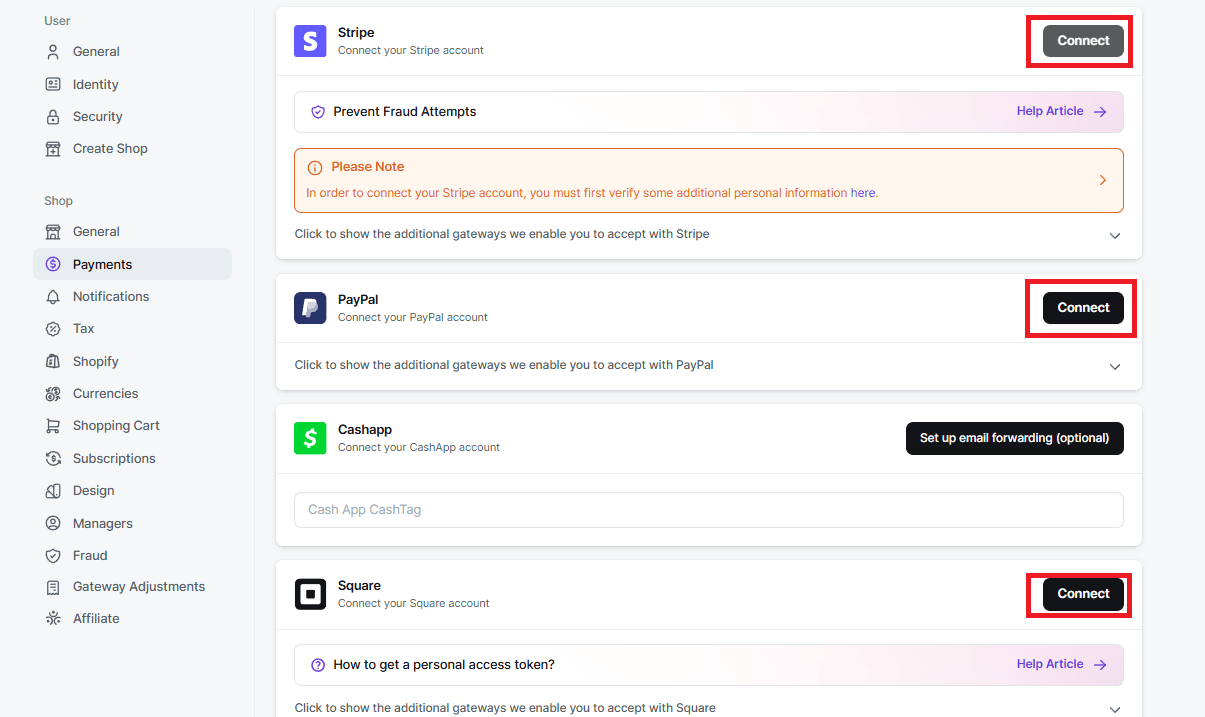
From the “payment” box, we will add the payment methods through which we will receive the money, which are PayPal, Visa, and digital currencies.
Click on add, and you will go to the payment settings, then choose the payment methods you want to link and click on Connect.
After completing the connection of traditional payment methods, we will move on to connecting payment methods via cryptocurrencies.
- Go back to the main page, and from the “payments” box, click on “configure cryptocurrency.”
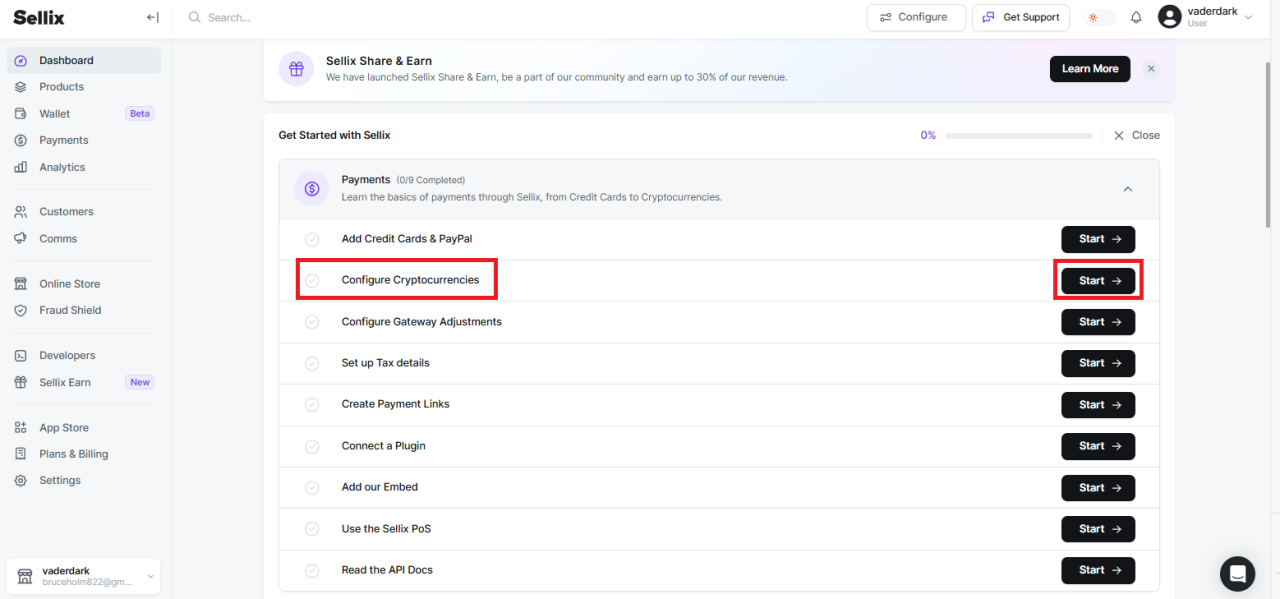
-
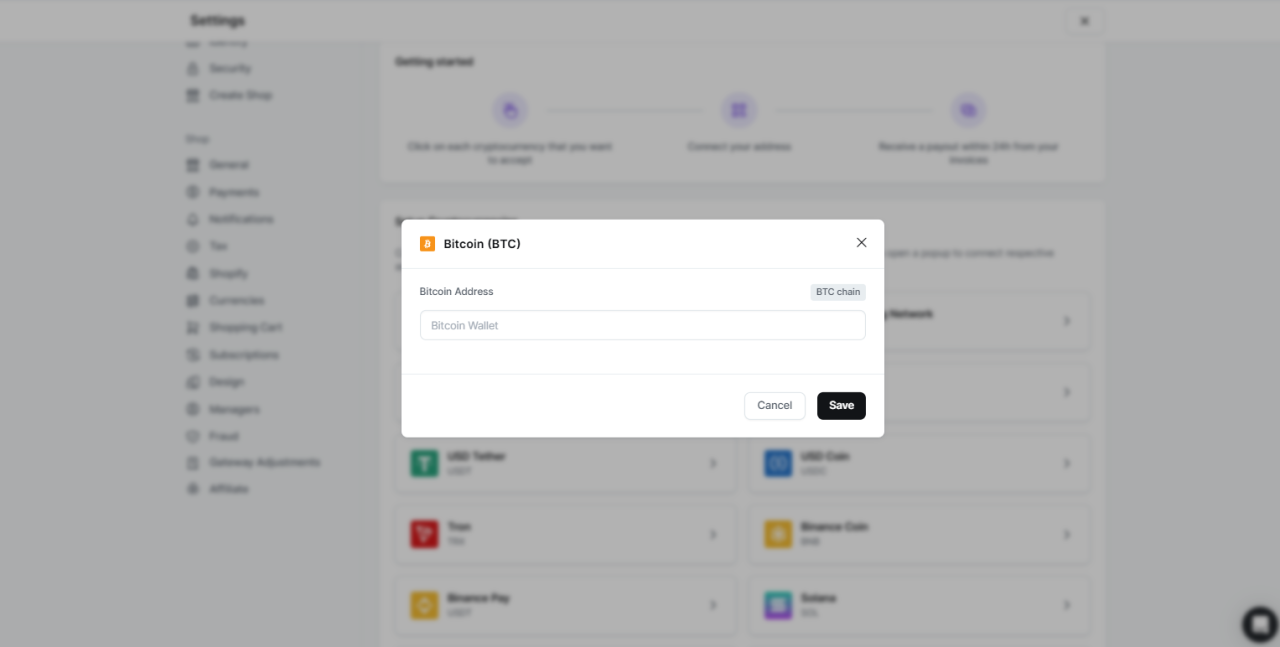
You will be redirected to a page with all digital currencies, such as Bitcoin, Ethereum, etc.; click on the currency you want to add and copy your wallet link in the currency box to add the currency.
After finishing adding digital currencies, go to the home page and choose “set up tax details,” which is the store’s tax information.
This field varies from country to country; depending on the commercial activity, there may be tax deductions or none at all in some countries. It is important to enter the full information in this field, such as name, country, tax number, and deduction percentage, then click Save at the top.
You can customize the rest in the payments field, but we focused only on the basic settings in each field.
Store Customization (Brand)
Add template
- From the branding box, click on the first option to add a template to the store.
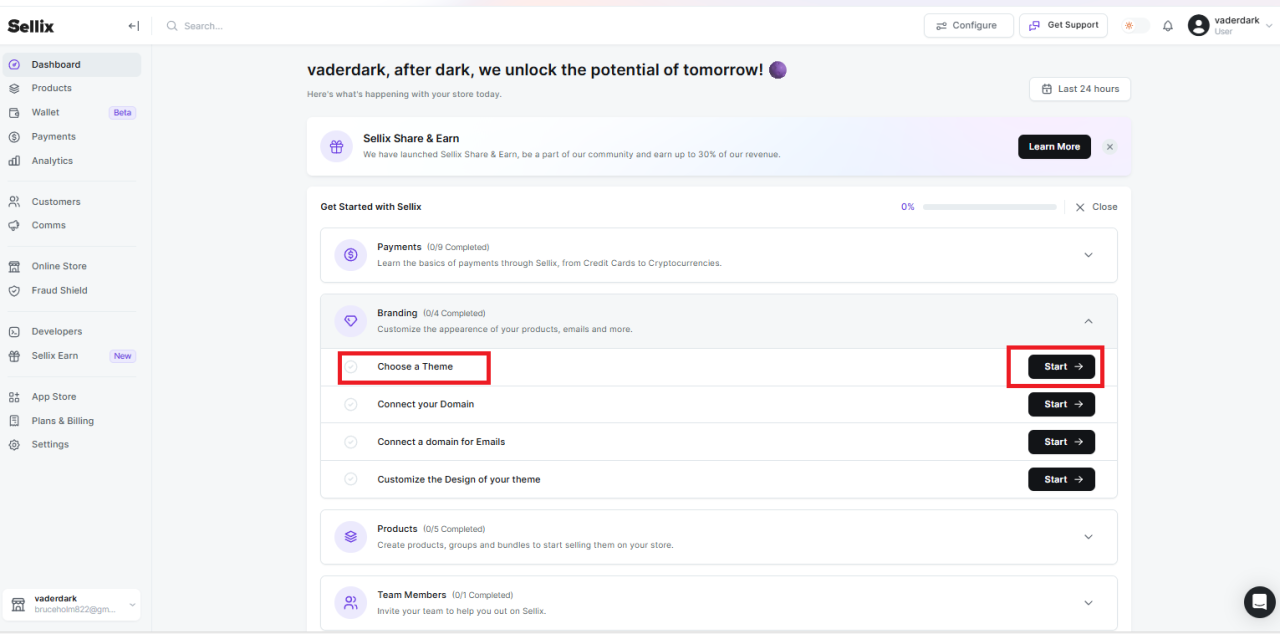
-
You will be taken to the templates page. Click on “explore themes” at the top to browse the available templates.
-
There are probably four, but you can purchase external templates and upload them to “Sellix” and customize them to suit you.
-
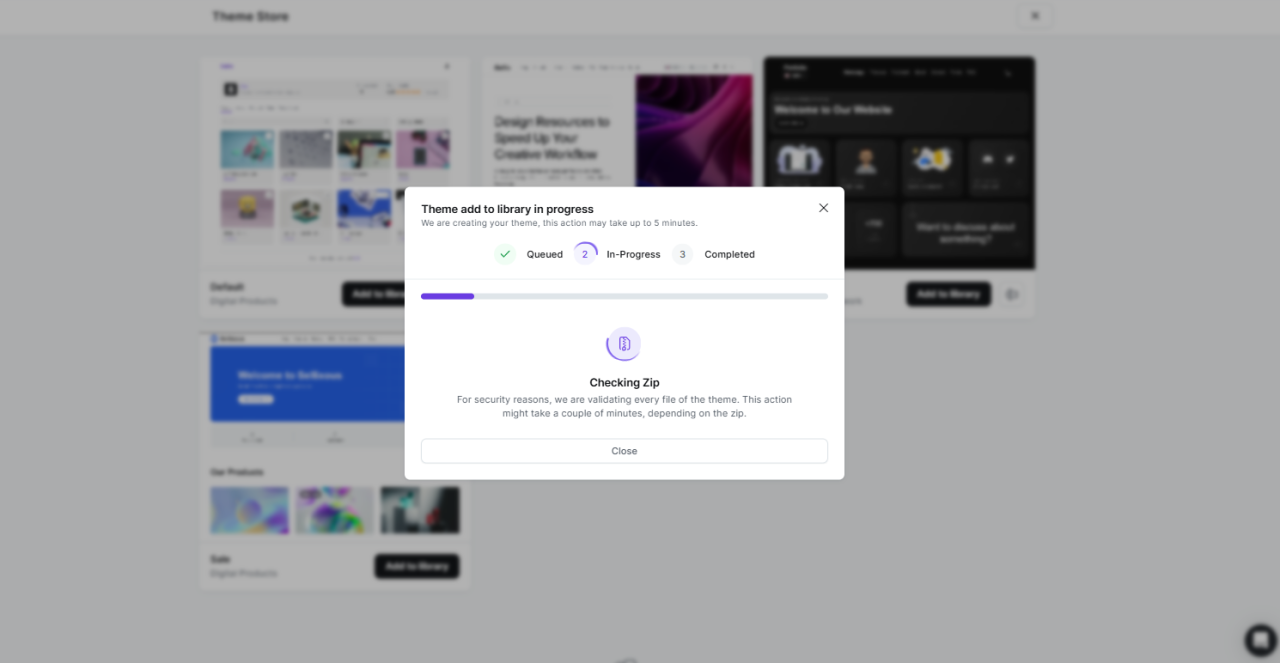
Click on “add to library” to add the template.
-
Wait for the template to complete the installation, and then click on “set to active.”.
Customize the template
This depends on your taste, dear reader, but to start and begin modifying the template, go to the home page again and click on “customize the design of your theme.”
- Then click on customize theme.
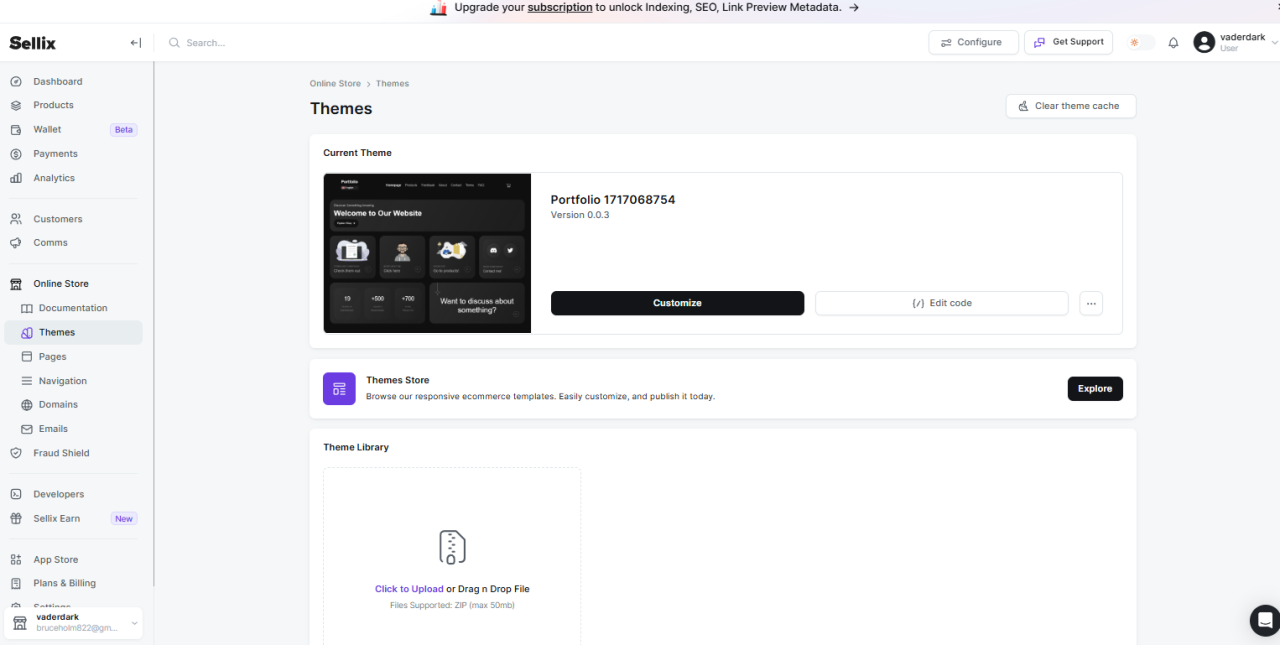
It will take you to the visual editing page. On this page, you can edit pages and the entire site from the box on the left.
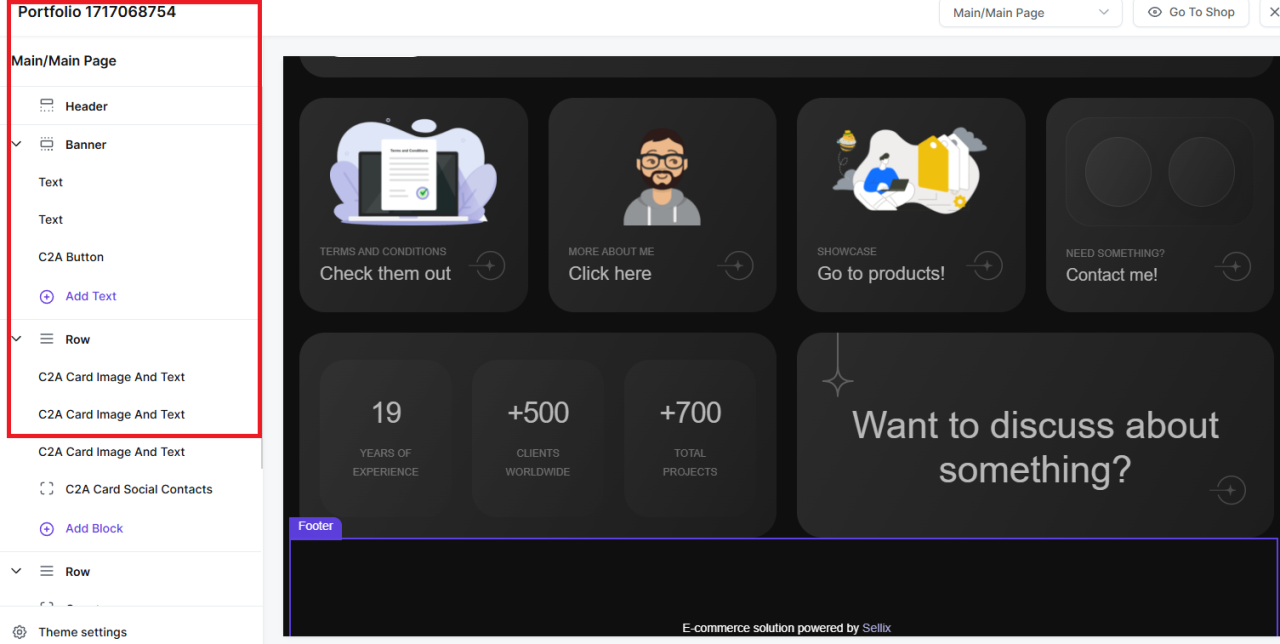
All you have to do is choose the part you want to edit from the site page, and the editing interface will appear on the left side. You can watch our video on the channel that explains the customization steps in more detail.
As for linking the site to a domain and email, this requires purchasing the paid plan on Sellix, so we will leave it, but if you want to do that, the linking method is followed by the same steps mentioned.
Add products to the online store
After you have finished editing your site, it is now time to add the products you want to sell.
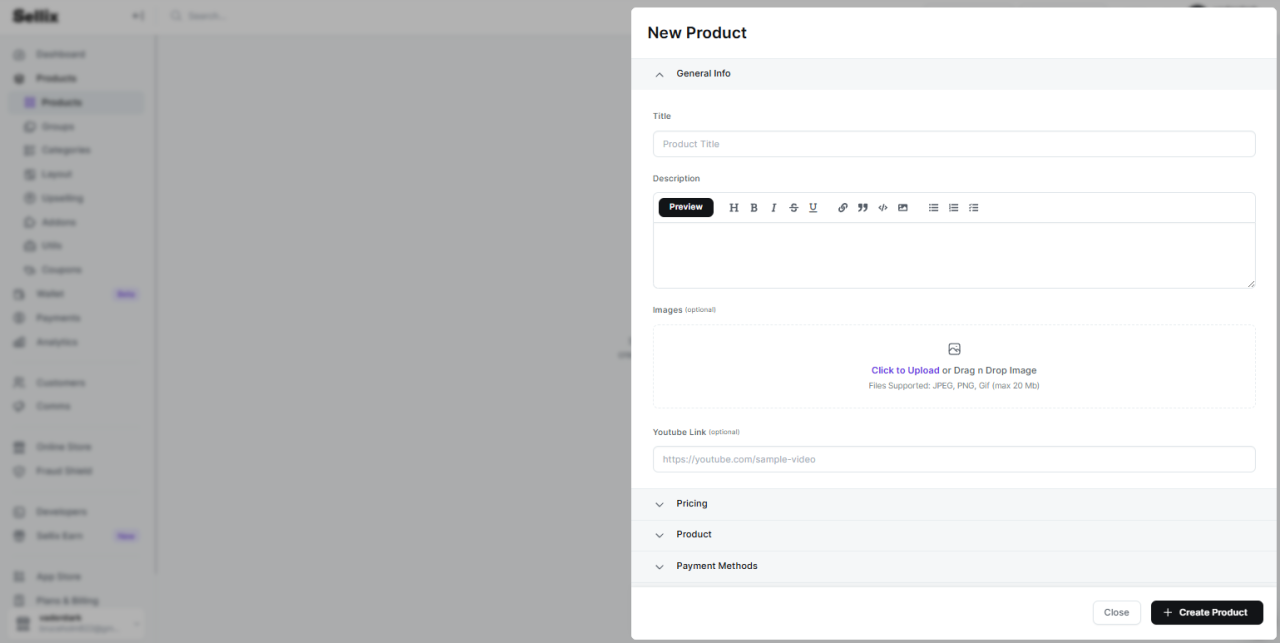
-
Go back to the home page, then click on “products,” then “create a product.”.
-
Fill in the general product information, such as name, description, and image, then go to the pricing box.
-
In the price box, put the specific price of the product.
-
In the product box, you must choose from the five available types (file, subscription, service, codes, dynamic),
-
then fill in the necessary information in the file.

- From the payment methods box, you can choose the payment methods that suit you and add them.
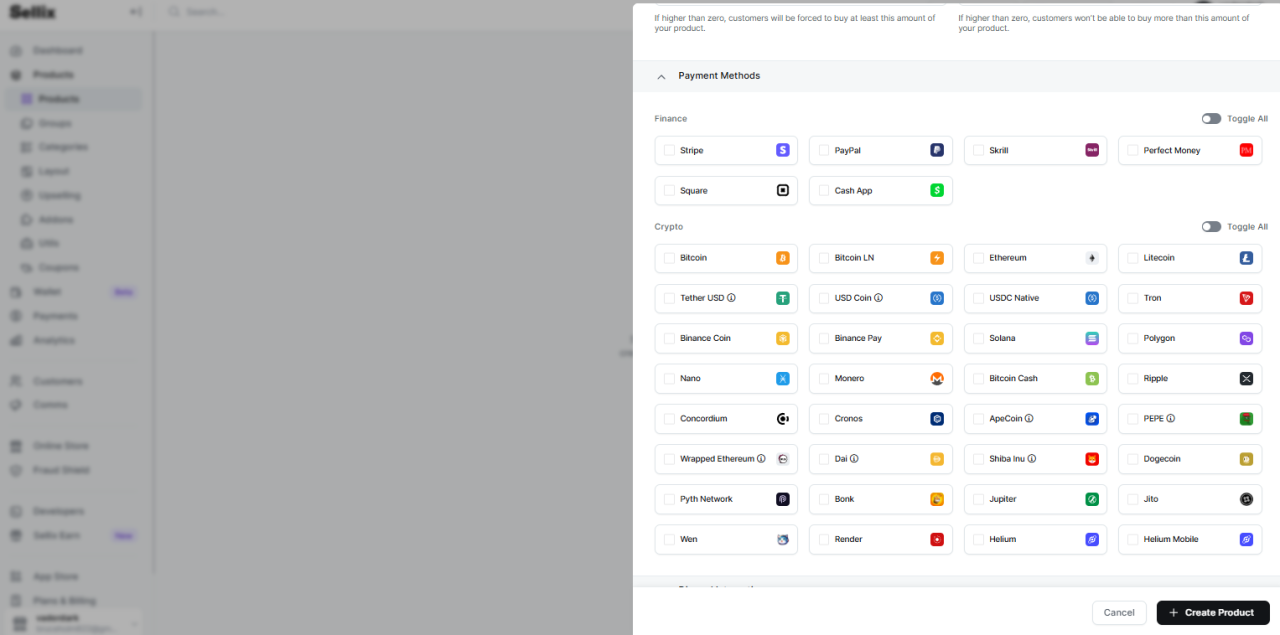
- After completing the necessary steps, click on create product to add the product to your store.
Create a coupon
Creating coupons is one of the best promotional methods on the Internet, and yes, Sellix offers this feature.
- As usual, from the home page, click on Create Coupon.
- Then click on generate at the top to create the coupon.
- Choose the product from the products box and add the number of uses and the discount percentage by clicking on the discount bar.
- You can activate the expiration feature and enter the date for the end of your discount offer.
Create a group
To create a digital product group, all you have to do is go to the home page and then create a group from the “organize products with group” option. This will organize your site, give it a good look, and ensure a good experience for the visitor.
Protection information
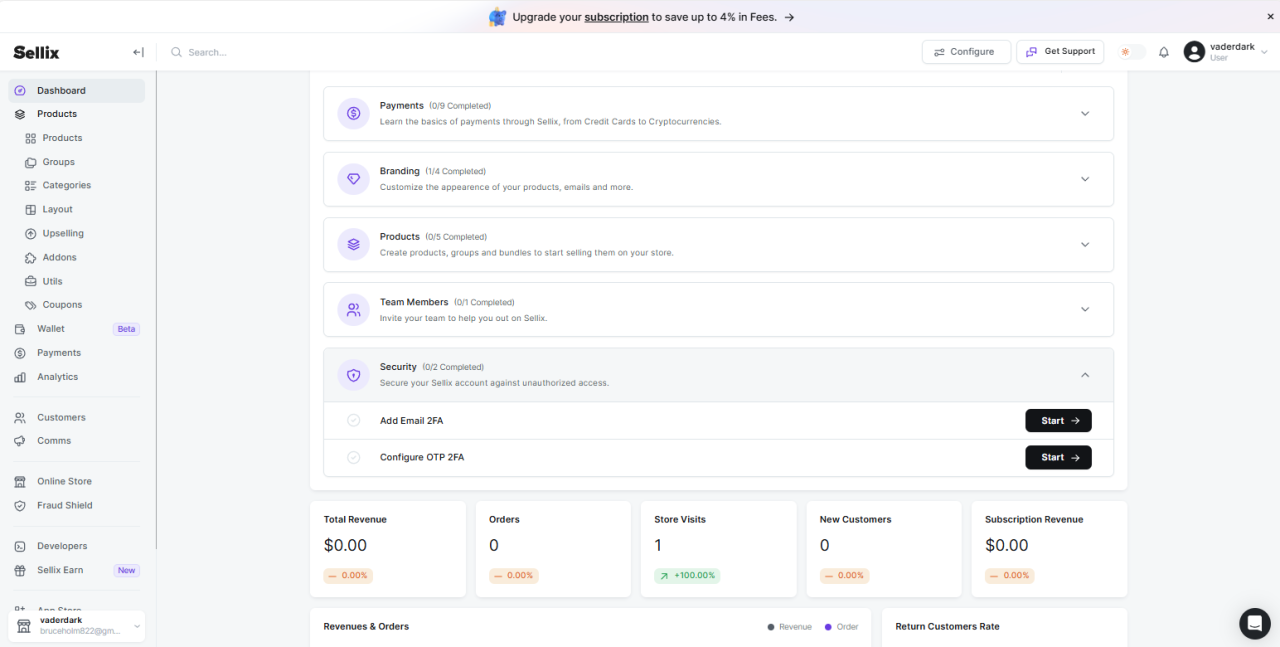
To protect your online store, you must take the protection step of double authentication for both the email and phone number.
Conclusion
In conclusion, creating an online store with Sellix is a very easy option for anyone looking to get started online without incurring huge costs. In this article, we’ve provided a step-by-step guide to creating an online store, from initial setup to advanced customization options—aall for free. By following our instructions, you can create a professional-looking, secure store that reflects your brand identity and values.